
Here's what you need:

A piece of fabric (mine is 23" x 9")
Elastic thread (usually found on the notions wall at your local fabric store)
An empty bobbin
A spool of all purpose thread to match your fabric
Step One:
Wind the bobbin with the elastic thread


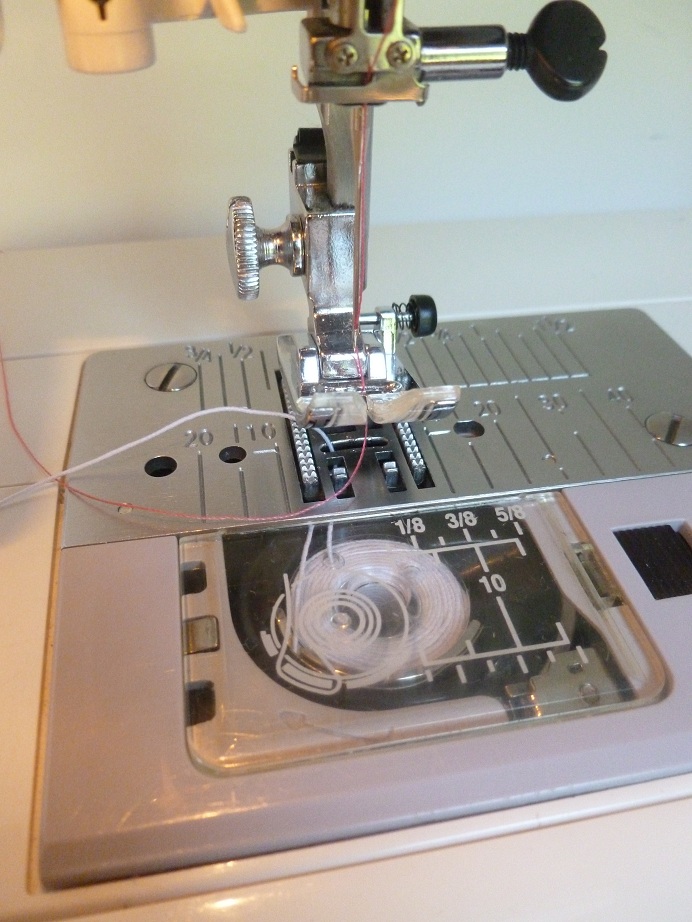
Step Two:
Now, thread the machine with the elastic thread in the bobbin and the all-purpose thread on top.
Set it to a regular stitch, regular length (between 2.4 and 2.8), normal tension, normal everything.
Start sewing, right side up, a small distance from the long edge of your piece. Don't forget to backstitch!


If you're starting in the middle of a piece and don't have an edge to follow, you can simply draw a line with a fabric pen, and follow that as you sew


Step Four:
Go back and start another row alongside the first. The smaller your project, the closer the lines should be. Mine are just inside 1/4".
Repeat this over and over until you're done! I used 9 rows of stitches.


The fabric piece should now look something like this. See how it's gathered? On the front you have nice little lines of pink stitching (or blue, or green, or whatever you used)


Press your shirring stitches with a hot iron on full steam. This is one of the most important steps! The heat causes all of that elastic to shrink up, really giving your piece the "shirred" look. Most of the time when someone says "I tried shirring, but it just didn't work for me" it's because they skipped this step.


Now, since we don't want to waste this perfectly nice piece of shirred material, let's do something with it!
First, gather a piece of material twice the length of your fabric (I used a 4" piece, folded in half to make a 2" strip) and pin it along the edge opposite the shirring. Sew it, right sides together, and overcast that raw edge.


Now, fold the fabric in half, right sides together, matching the shirring lines and ruffle. Sew and overcast.


Last step -- Attach 4 pieces of ribbon (9" each) at the top to be your ties. Don't forget to heat seal the edges so they won't fray.

 Turn it right side out, and you have a cute little dress for a baby doll!
Here it is being modeled by Ailidh's "New Baby".
Needless to say, she no longer fits the description, but somehow still clings to the name. (Rather like the way I still cling to "29".)
I don't know about you, but I have one happy little girl in my house today!

No comments:
Post a Comment