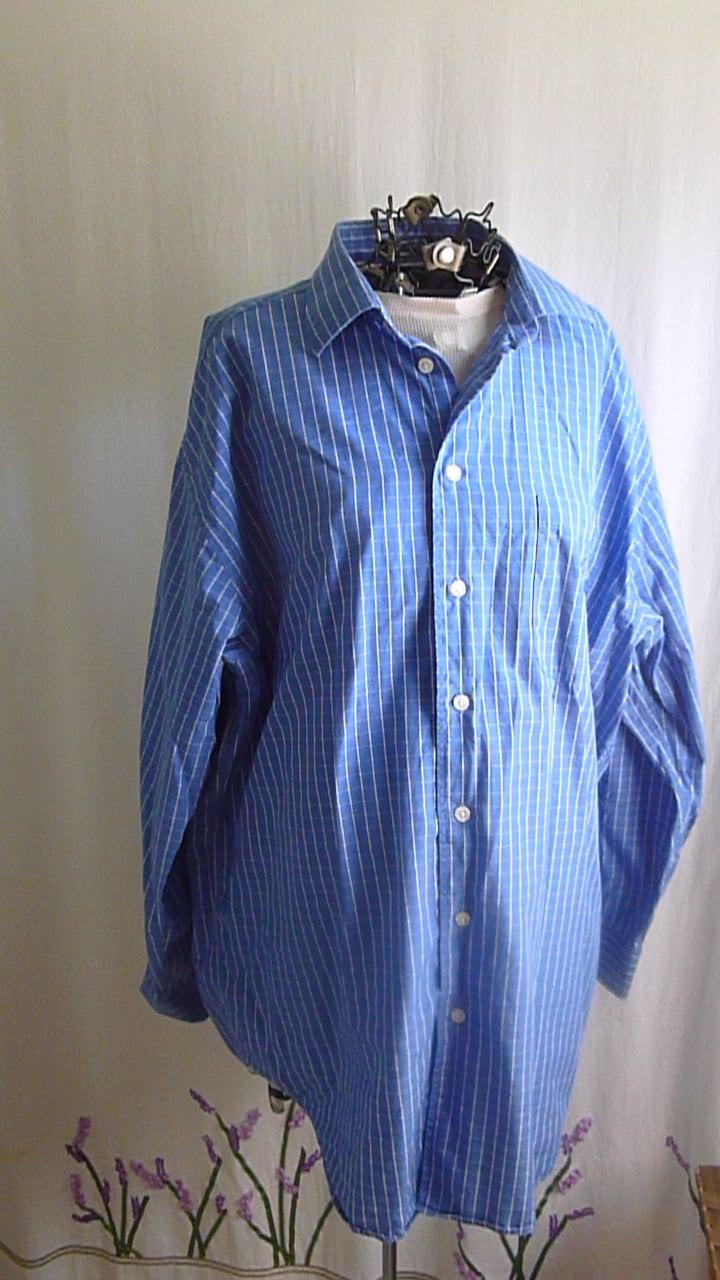
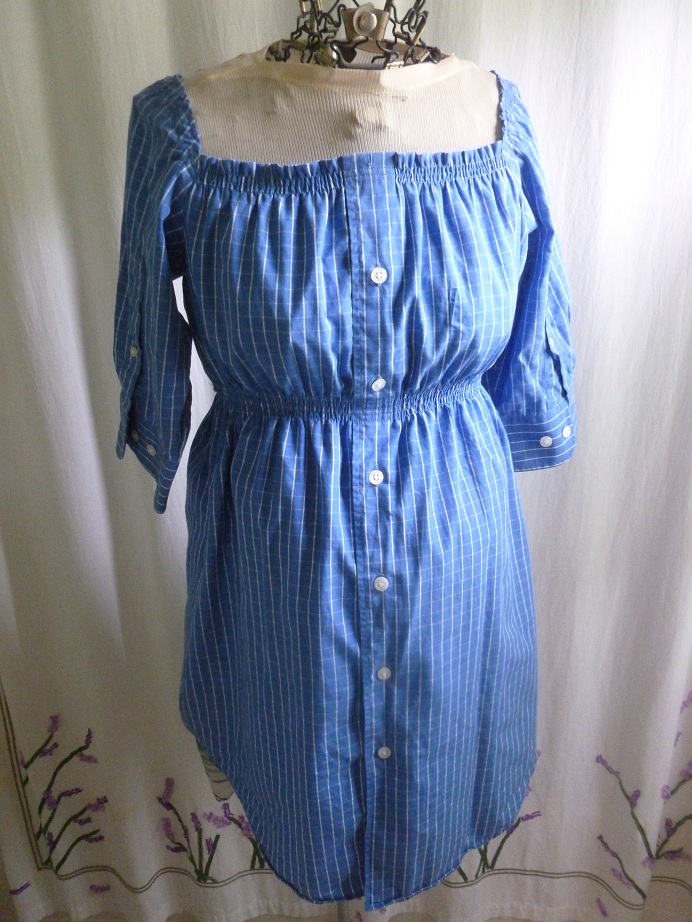
That's right, I turned a button down men's shirt into a maternity shirt! Someone gave Steve an nice button down shirt, but the neck was too small for him, so I re-purposed it for myself.
He has too many shirts anyway.
It's a fairly quick and simple project, and super comfy to wear. It would look good on a non-maternity figure also. Want to make one too?

Start with a button down shirt. If it's large enough, you could even call this a dress! (This is a great use for those shirt with a stained collar)

Lay it out flat and cut it across the top, just under the collar, from sleeve to sleeve, then straight down to the hem. Cut through both front and back.


Now, put the front and back right sides together, and sew and overcast your new side seams, top to bottom.

it should look like this
Next, press under 1/2" along the top edge. You may have to remove a button, but just pin the button placket closed to keep it in place.

Sew three lines of shirring along the top, 1/4" from the folded edge. Each line should be about 1/8" apart. Sew right across that button placket, since you won't be using that anymore. Actually, I sewed the whole placket closed from about the middle of the shirt up to the top, so it wouldn't gap across the chest.

Now, put the shirt on and mark the waist (or right under your bust if you don't have a waist right now!) It helps to tie something around until it looks right and then mark it with chalk.

Run 5 lines of shirring, about 1/8" apart, around the waist, front and back.
It's time to do the sleeves.
Lay the top out with the side seams in the middle. Cut a half circle out about 3" deep and 6" across. If you're not really sure about this part, put a shirt that fits you over your project and trace the arm hole.

Lay out the sleeves that you cut off earlier, with the seam at the bottom. I wanted the buttons to go in the front, but you could put them in the back too. Cut a sleeve curve. It should look about like this, don't worry about being too exact. The top of the curve should be about 16" above the cuff. The underarm seam should be at the bottom of the curve.
BE SURE YOU CUT THE OTHER SLEEVE LIKE A MIRROR IMAGE. If you cut them both alike, you'll end up with one upside down.

Pin the sleeves to the armholes, matching the underarm seams. Sew, using a 1/2" seam allowance, and overcast.

Press under 1/2" along the rest of the sleeve end.

Run 3 lines of shirring along the pressed edge, trying to match the sleeve shirring with the lines of shirring on the top of the bodice.

Try it on and show it off!


Here's a variation I thought about, but ran out of time for -- cut the cuff off at the placket and use the extras from the sleeves to add a little ruffle

mine's just pinned and folded, to see how it looked.
No comments:
Post a Comment