 It's a gray, rainy day here. What better time to talk about flowers?! So today I thought I'd post about a basic floral design.
Remember, you can use anything in "floral" design - fall is a wonderful time for seed pods, grasses, and all sorts of interesting things you can find outside. Add apples or fall leaves for some really good seasonal color! Or you can get a mixed bouquet at the grocery store or farmer's market for a more summery look- once you know some basic rules, the possibilities are endless!
It's a gray, rainy day here. What better time to talk about flowers?! So today I thought I'd post about a basic floral design.
Remember, you can use anything in "floral" design - fall is a wonderful time for seed pods, grasses, and all sorts of interesting things you can find outside. Add apples or fall leaves for some really good seasonal color! Or you can get a mixed bouquet at the grocery store or farmer's market for a more summery look- once you know some basic rules, the possibilities are endless!
When working with fresh materials, you need to start with a block of
WET floral foam. At the store, this looks almost exactly like the DRY floral foam, but make sure the package says
WET. This kind will absorb about 100x its weight in water, and keep your fresh materials fresh.
You'll start by soaking the block of foam in water. It's tempting to shove it down under the water to speed things up, but this can trap air bubbles inside, and any stems stuck into those "dry spots" will end up dying.
So just let it float there until it sinks on its own and has turned completely dark green.
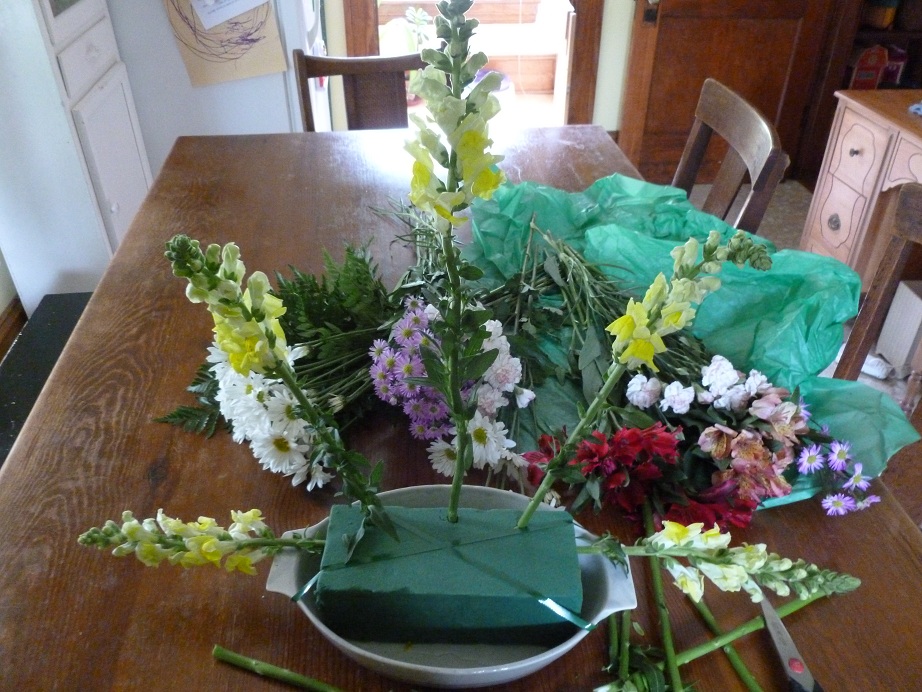
After the block is completely saturated, place it into your container. You may need to trim it a little to make it fit, but it's easy to cut with a kitchen knife. Then tape over it with some waterproof tape (I use green floral tape, but you can use electrical tape too!) attaching it securly to the container, so that once you have all those flowers stuck in it, it won't tip over.
Now comes the fun part.
Choose 5 tall, straight stems for your framework. You'll want to cut the ends at an angle to maximize water absorption.
Place the tallest one toward the back and in the middle. 1 more at either side at the bottom pointing out should make a triangle. Put 2 more in the middle of your triangle's sides to get a defined shape. You should be able to draw an imaginary line from point to point to point. This becomes your guideline. You don't want any other flowers going outside of this line.
Now, start "greening". This just means to poke pieces of greenery into the foam to hide it. You don't need to get carried away - leave room for the flowers. Just enough to soften and disguise the edges a bit. You will want to put some taller greens in the back to form a background behind the "triangle".
Starting
From the back
Plenty
Now start filling in with other flowers. Be sure to get different depths - some tucked down a little more, some more to the front. But none going past your framework!
You want to put your accent flowers in last. These are 3 to 5 larger flowers that anchor the piece. Remember to keep them a little closer to the bottom, to avoid making your design look top heavy.
Just about finished
Now, the back. You're not really supposed to see this side, but I don't like to leave it looking "naked", so I usually stick some leftover greens and little bits in there to dress it up just a little.
before
after
The last step is to be sure there is an inch or two of water in the base. This keeps the foam from drying out. You'll need to check on it every couple days to add more water as the flowers drink it up.
Just a warning - any kind of floral work tends to make a mess! Here's what the kitchen looked like after this project.


