1) Start with an old sweater that you never wear anymore. To make the vest you'll need one with a large neck, one that buttons up the side is best.
2) Cut off the arms. These will be your leg warmers.

3) Wrap a piece of 1/4" elastic around your little one's leg just above the knee, stretching is just a tiny bit, and overlapping the ends by 1". Cut another piece the same length. Sew these with a zig-zag stitch, forming 2 loops.

4) Turn the sleeve wrong-side out. Place the elastic loop around the sleeve, 1" down from the cut edge. Fold the cut end down over the elastic loop and pin it in place. Sew down with a zig-zag stitch, 3/4" from the folded edge.


Two cute leg warmers!

Now, for the vest:
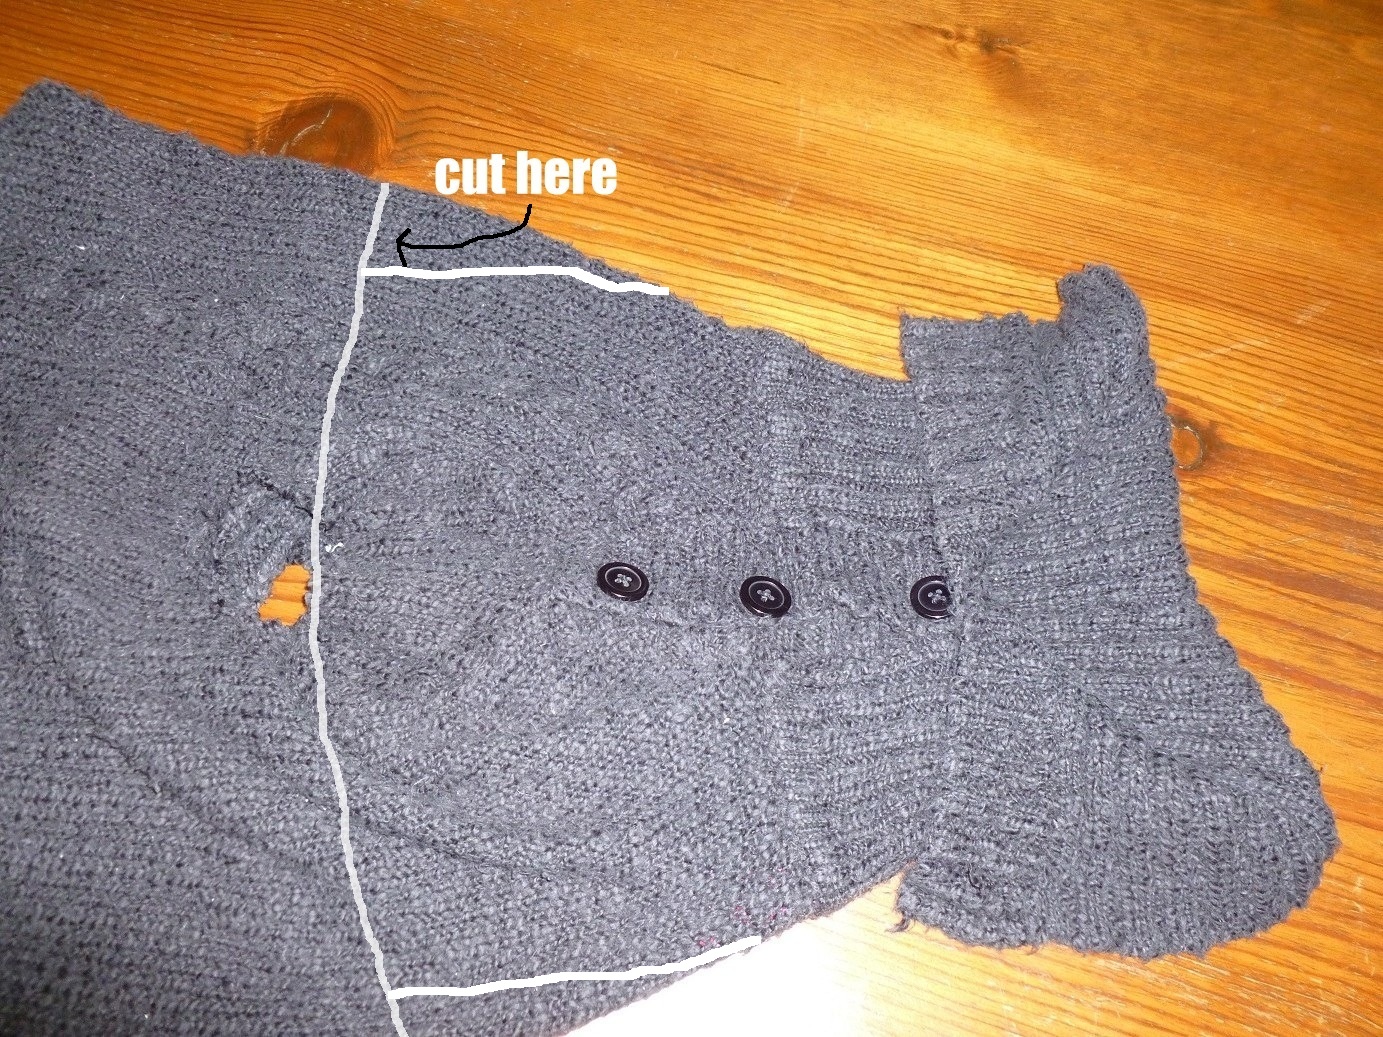
1) Fold the sweater so the "arms" (now just holes!) are directly in the middle and the shoulder seams run straight down the middle. Be sure both shoulder seams are even and directly down the middle. The button side of the collar becomes the center front. Cut a gentle curve just under the armhole. Cut up the sides.


3) Turn under 1" all along the bottom and pin it in place.

4) Topstitch in place with a zig-zag. You now have a tube, slightly bell shaped. (Again, I wasn't too worried about perfection!)


A cozy little vest!

Now, we can't waste the rest of this sweater! So let's make a hat.
1) Cut an 8" piece off the bottom from side seam to side seam.


4) Now, fold the hat in half again, with the side seams together down the new middle. Cut the little peak off the top, perpendicular to your first seam.

5) Pin and sew.

We still have some pieces of the original sweater left. Now for some fancy bits!
To make a headband --
1) Cut a 1 1/2" strip off the bottom. Wrap this around your little one's head and mark the length you need.

2) Pin and sew

3) Cut various size circles out of the remaining sweater pieces. Chalk works really well to mark bulky knits! Go ahead and cut as many as will fit -- you can always use another flower accessory!

4) Overcast the edges of the circles. This will give them a "ruffley" look.

5) Layer the circles together, starting with your largest on bottom.

6) Sew through all the layers to make your flower.

7) Glue a bar pin on the back.

8) Add some pizazz!
Here's one with a little bling

Various buttons from my vintage button collection

Now, pin the flowers on the headband, the hat, the vest, the legwarmers... anything you want!

Here's what was left of my sweater when I got finished!

No comments:
Post a Comment