Everyone in our house was sporting orange last week, as Daddy was getting excited for the "big game".
Everyone, that is, except Ailidh. Somehow we didn't seem to have any Clemson stuff in a 2T, and the 18m shirt she'd been wearing was just too tight!
So, I pulled out this 3m onesie that never fit anyone (it was so big
across the shoulders and much too short through the snaps), an old
orange t-shirt from Steve's drawer, (good ol' t-shirt drawer again!) and
about 20 minutes later Ailidh had a brand new Clemson pride dress!
How I did it:
It was really simple. The pictures pretty much say it all!
Saturday, December 10, 2011
Thursday, December 8, 2011
Flour everywhere...
That's what happens when you try to make Christmas cookies with 2 small helpers and a little crawler on the floor!
The kids and I had a wonderful time today making a mess of the kitchen, and about 12 dozen Christmas cookies! At least, the kids had a wonderful time.
"Here, Ailidh, I'll lift you up so you can give her a little kiss too."
I felt another little kiss (on my shoulder this time). Then they both went back out again and I heard the door close.
The kids and I had a wonderful time today making a mess of the kitchen, and about 12 dozen Christmas cookies! At least, the kids had a wonderful time.
Ever have that feeling, "I love my kids, I just wish they would go away!" ?
Well, about 3 o'clock, after the cookie baking and kitchen piled with dirty dishes, that's how I was feeling. Coming down with a bug, and being up all night with 2 sick children, I was also hurting for a little nap. I thought I'd try to catch 20 minutes while the baby was sleeping, so I left the dishes in the sink, asked the other two to play quietly for a bit, and "let Mommy rest". Well, about 5 minutes later I heard the door open, and two pairs of little feet come "quietly" in. Then I felt a little kiss on my head and heard James' whisper,"Here, Ailidh, I'll lift you up so you can give her a little kiss too."
I felt another little kiss (on my shoulder this time). Then they both went back out again and I heard the door close.
Isn't it amazing how a little thing like that can be better than a dozen 20 minute naps?
Wednesday, December 7, 2011
Advent Calendars
Probably our most favorite Christmas tradition is the lighting of the Advent wreath.
Every evening after dinner, Steve lights the candles and reads a short scripture, then we pray and sing a song. The kids all play their drums/shakers/jingle bells, and wow do we make a joyful noise!
I meant to do a post about making your own live evergreen wreath, but didn't get the time!
We also do an Advent calendar every morning, which the kids also love. I realize that we are already almost halfway through the Advent season, but I wanted to share about the neatest Advent calendar project that I've been involved in! (Many of you may already have heard me talking about it.)
A friend of mine called the other week and asked if I would be willing to help with a "project to help some ladies in India". It turned out to be one of the highlights of this Christmas for me! A group of other ladies and I got together to make these huge calendars. In each of the little pockets went handmade "nations dolls" dressed like some of the most unreached people groups in the world. Each morning you take out the doll for the day (and any other goodies stuffed in there!), read about the people group, pray for them, and hang the doll on the tree.
What a great way to remind us why Christ came so long ago - to reach out to those "who were far away".
Merry Christmas!
Monday, December 5, 2011
It's a wrap
I have been sewing like crazy the last couple weeks, and would love to share some of what I've been working on. Sadly, they're all Christmas presents and I'm going to have to try to keep the secret for 3 more weeks!
However, there are a few things that I can share now.
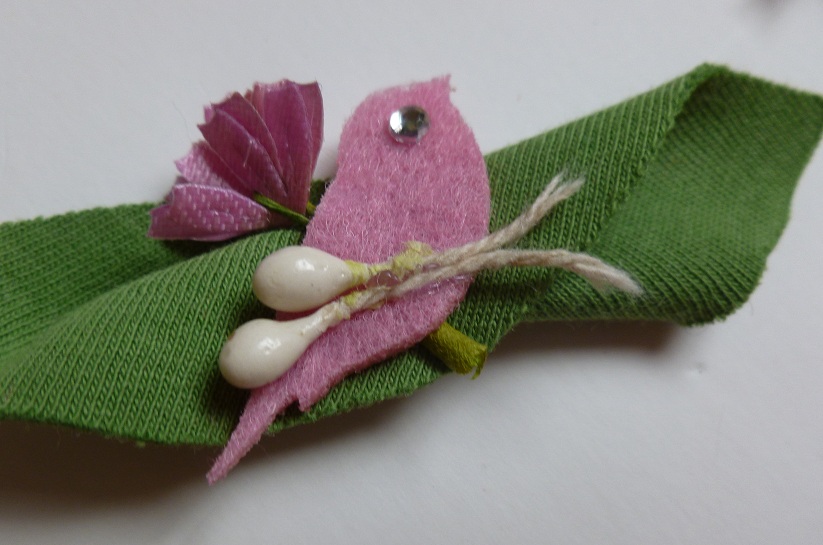
Here are the little hair bows that my sister and I made for our little niece's 1st birthday.

We had so much fun making these after the kids were safely in bed one chilly evening a few weeks ago. We just spread ribbons and beads and scraps all over the kitchen, made ourselves some hot tea, turned on the music, and went at it!
I love the way they turned out!
This one's my favorite!
I made a couple headbands out of super soft fold-over-elastic (pink, white, and brown ones!) and attached snaps. All the bows have the other side of the snap on them, so they can be attached to any of the bands! Sure saved a lot of time making dozens of headbands! We also made a couple little clips with snaps, so that when she gets a little more hair, she can still wear all her adorable bows!
However, there are a few things that I can share now.
Here are the little hair bows that my sister and I made for our little niece's 1st birthday.
We had so much fun making these after the kids were safely in bed one chilly evening a few weeks ago. We just spread ribbons and beads and scraps all over the kitchen, made ourselves some hot tea, turned on the music, and went at it!
I love the way they turned out!
This one's my favorite!
Have to have a Clemson tiger paw!
Isn't this the cutest Christmas poinsettia?
I made a couple headbands out of super soft fold-over-elastic (pink, white, and brown ones!) and attached snaps. All the bows have the other side of the snap on them, so they can be attached to any of the bands! Sure saved a lot of time making dozens of headbands! We also made a couple little clips with snaps, so that when she gets a little more hair, she can still wear all her adorable bows!
Note: Gluing a piece of non-stick shelf liner to the inside of the clip really helps to keep it in place in that baby-fine hair!
Here are a few more photos, modeled by Ailidh and Joy, since I haven't seen little M since her birthday!
HAPPY BIRTHDAY M.!
Saturday, November 12, 2011
Sewing School Saturday - Hems
I've been without my computer for over a week now, and let me tell you, it's been tough! I do not think of myself as "technologically advanced". Quite the opposite. I have yet to figure out texting, find facebook confusing, and panic whenever anything changes on my email. Actually I don't really know how I ended up with a blog.
All that being said, I have felt very disconnected with my world this week! And I'm very glad to have it back again!
So moving on to today's topic --
Straight hem. This type of hem is commonly found on pants, straight cut skirts, and other sporty items. You can make this any width, really, the most common being a 1" hem (in the example) or 1/2".
Start by marking the length of your hem. Add 1 1/2", and trim. Place the fabric wrong side up. Press over 1/2" along the edge to be hemmed.
Note on marking hems: The item to be hemmed should always be marked ON the person or object it is intended for! If you're making yourself a skirt, have someone else mark it while you wear it. The easiest way is by using a stiff ruler and measuring up from the ground, so that it is even all the way around.
Press over another 1", completely covering the raw edge, and pin in place.
Topstitch 7/8" from the folded edge.
Blind hems. These are often done on dressier items - dress pants, drapes, etc. You will need a blind hem foot for your machine.
Start by marking your hem and pressing over 1/2", then 1", as in the straight hem. Instead of topstitching, however, you will fold this to the outside (without pressing), about 1/8" down from the inside pressed fold edge.
Put the unpressed fold along the metal guide of your blind hem foot. Set the machine on the blind hem stitch.
Start stitching, checking to be sure your fold is the correct amount. The zigzag stitch should just be catching along the unpressed fold.
When you reach the end of the hem, unfold it and press it flat. You should see a zigzaggy pattern on the inside.
On the outside you should just be able to see tiny little vertical stitches. Almost invisible!
Curved hems. Curved hems (such as you would find on A-line, bias cut, or circle skirts) require a little extra care, since the inside edge of your fold is shorter than the outside. Start by marking the hem, adding 3/4", and trimming away the extra fabric.
Note: ALWAYS remember to hang your project for at least a week to allow the fabric to give and stretch before marking your hem.
Run an easing stitch (the longest stitch length on your machine) 1/2" from the raw edge.
Press the edge to the inside along this line.
Trim the folded edge to 1/4"
Fold and press again 1/4" to the inside, covering the raw edge. Pin in place. Use the easing stitch to gently draw in the fabric as needed to get the hem to lie flat.
Topstitch this in place (an alternative would be to blind hem by hand, but I don't have the patience for that!). You should now have a nice, neat, curved hem!
All that being said, I have felt very disconnected with my world this week! And I'm very glad to have it back again!
So moving on to today's topic --
Hems
There are about as many methods of hemming as there are seamstresses. We're going to talk about 3 different kind of hems:
Straight hem
Blind hems
Curved hems
Straight hem. This type of hem is commonly found on pants, straight cut skirts, and other sporty items. You can make this any width, really, the most common being a 1" hem (in the example) or 1/2".
Start by marking the length of your hem. Add 1 1/2", and trim. Place the fabric wrong side up. Press over 1/2" along the edge to be hemmed.
Note on marking hems: The item to be hemmed should always be marked ON the person or object it is intended for! If you're making yourself a skirt, have someone else mark it while you wear it. The easiest way is by using a stiff ruler and measuring up from the ground, so that it is even all the way around.
Press over another 1", completely covering the raw edge, and pin in place.
Topstitch 7/8" from the folded edge.
Start by marking your hem and pressing over 1/2", then 1", as in the straight hem. Instead of topstitching, however, you will fold this to the outside (without pressing), about 1/8" down from the inside pressed fold edge.
Put the unpressed fold along the metal guide of your blind hem foot. Set the machine on the blind hem stitch.
Start stitching, checking to be sure your fold is the correct amount. The zigzag stitch should just be catching along the unpressed fold.
When you reach the end of the hem, unfold it and press it flat. You should see a zigzaggy pattern on the inside.
On the outside you should just be able to see tiny little vertical stitches. Almost invisible!
Curved hems. Curved hems (such as you would find on A-line, bias cut, or circle skirts) require a little extra care, since the inside edge of your fold is shorter than the outside. Start by marking the hem, adding 3/4", and trimming away the extra fabric.
Note: ALWAYS remember to hang your project for at least a week to allow the fabric to give and stretch before marking your hem.
Run an easing stitch (the longest stitch length on your machine) 1/2" from the raw edge.
Press the edge to the inside along this line.
Trim the folded edge to 1/4"
Fold and press again 1/4" to the inside, covering the raw edge. Pin in place. Use the easing stitch to gently draw in the fabric as needed to get the hem to lie flat.
Topstitch this in place (an alternative would be to blind hem by hand, but I don't have the patience for that!). You should now have a nice, neat, curved hem!
Subscribe to:
Posts (Atom)